How to Use Acrylic Stamps
Did you just buy some acrylic stamps but don’t know how to work with them? In this article, we explain how to use acrylic stamps.
Everyone starts somewhere, and we didn’t know when we first saw them.
What do you need to use acrylic stamps?

✔ A methacrylate block to mount them on and use them.

✔ An ink pad: Versafine is the best option because it captures fine details beautifully.

🖤 If you want to stamp in more than one color, we'll show you the technique—it's super easy!
That’s why we created this post, where we explain everything you need to know:
What clear stamps or acrylic stamps are.
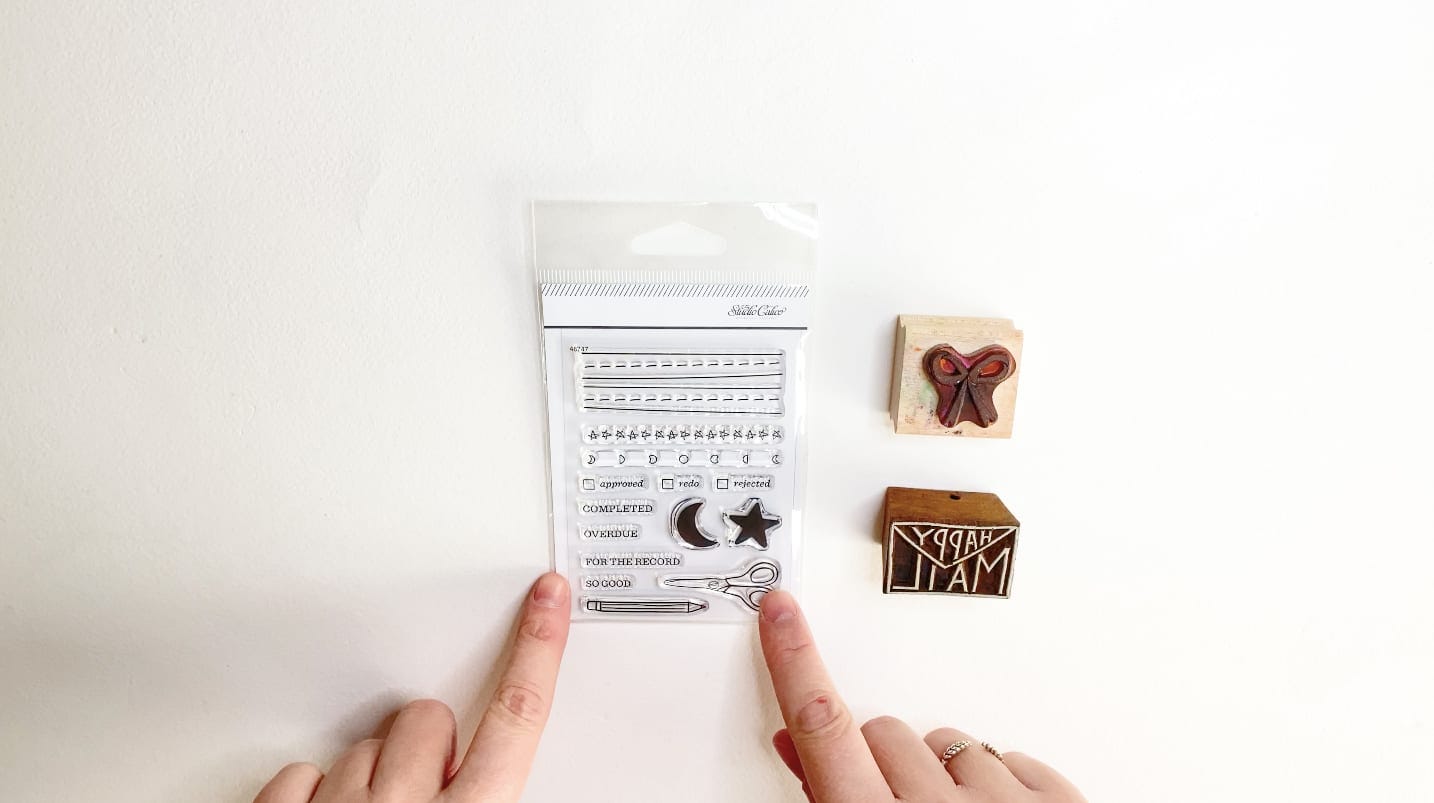
How they differ from rubber or wooden stamps.
How to unpack the stamps.
Bases for acrylic stamps.
How to mount the stamp on the methacrylate base.
Inking and stamping.
Cleaning and storing acrylic stamps.
Video tutorial.
If you prefer to see the information in action, here’s a video where I explain all the details covered in this post.
What are acrylic stamps?
Also known as clear stamps, they are made of fully transparent acrylic material. They are flexible but a bit more delicate than rubber stamps.
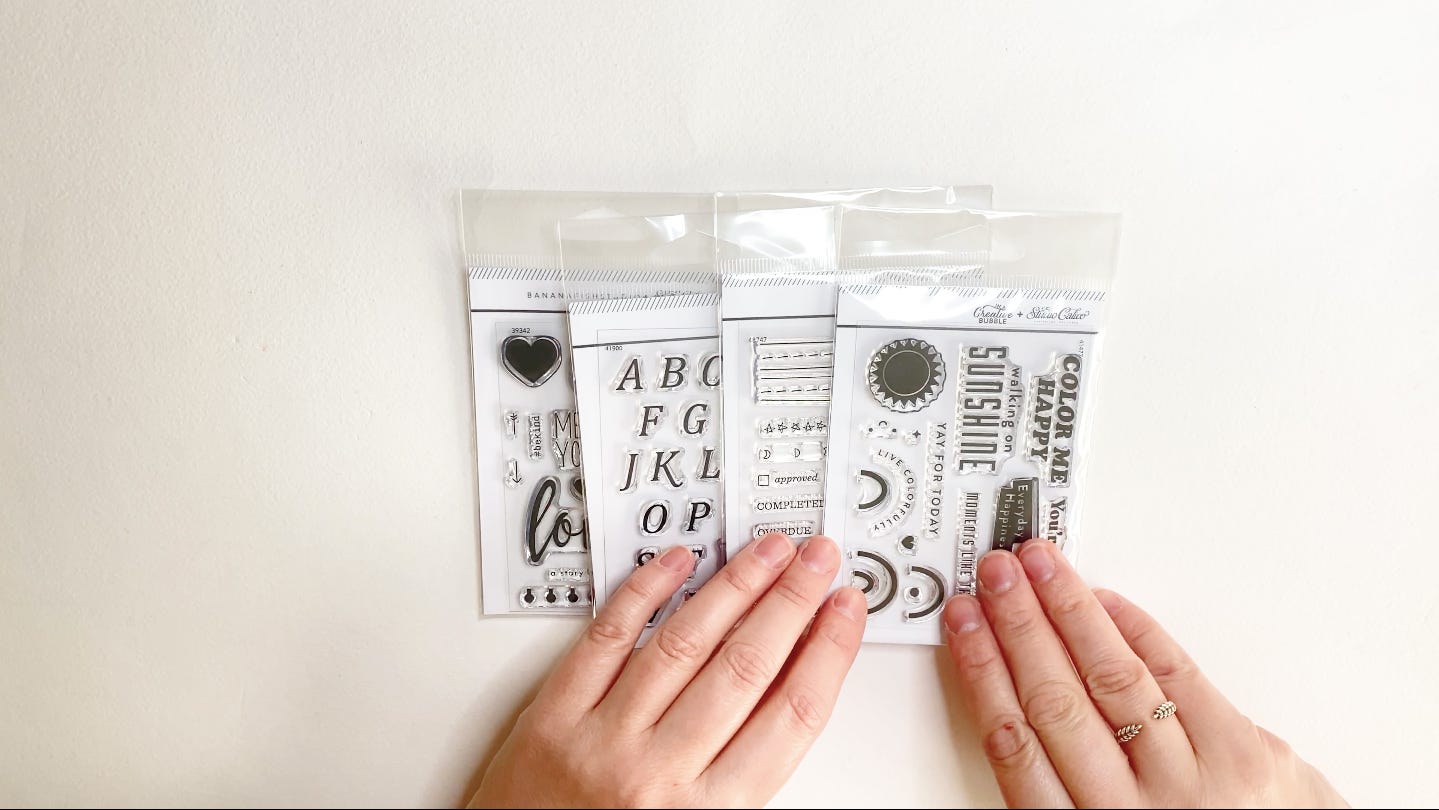
You will typically find them in blister packs or themed packages, making them easy to combine, and they come in many sizes, from very small to A5 size.
What are the differences between acrylic stamps and rubber stamps?
The differences they typically have compared to other types of stamps—besides the material—are:
They have a higher level of detail and more refined lines, making them great for use when you want more detailed or fine patterns.
They are completely transparent, so you can always see where you are stamping.
They do not have a base.
They are just as delicate and need the same care as rubber or wooden stamps.
How to use acrylic stamps
How to mount acrylic stamps for stamping
1 / The parts of an acrylic stamp
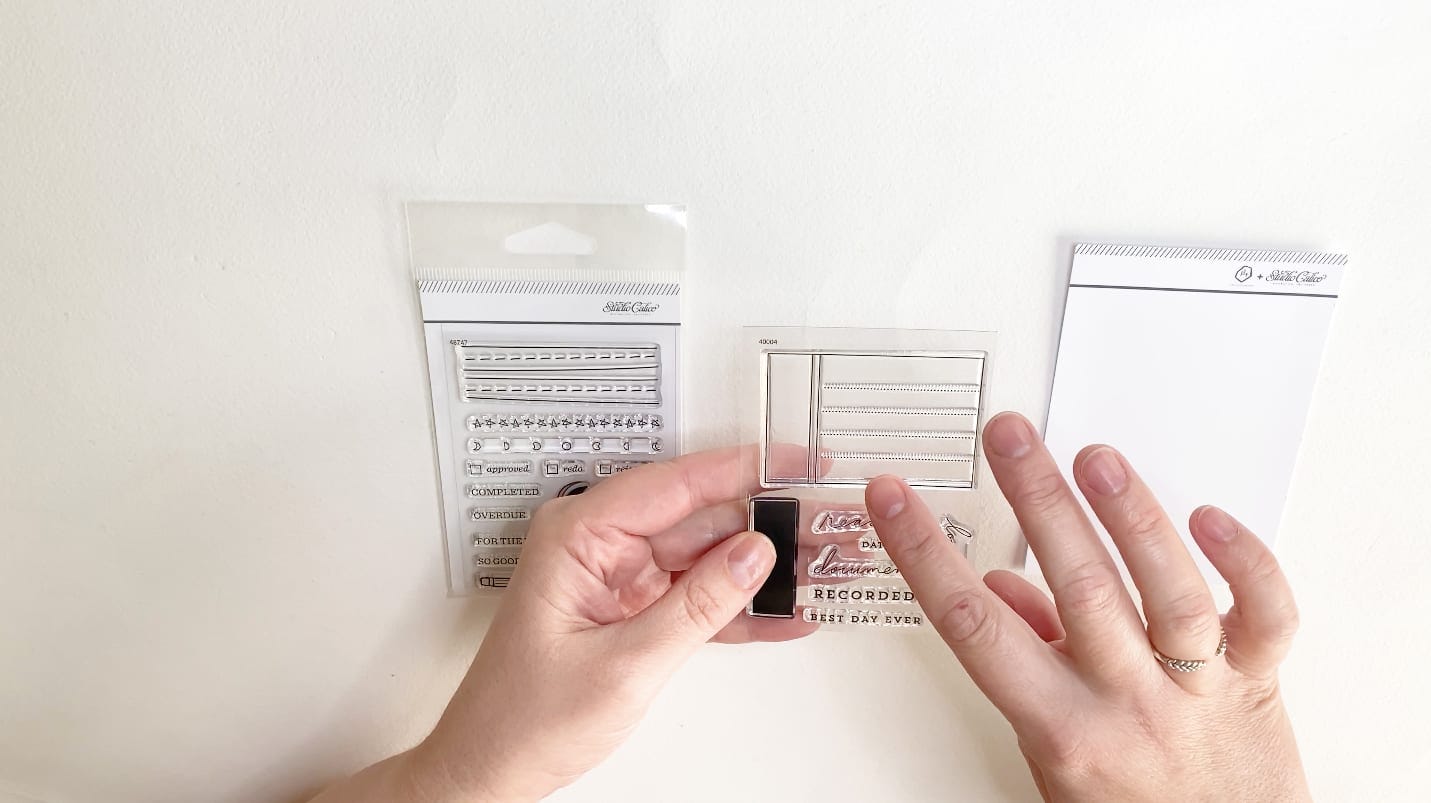
You will see that the acrylic stamp comes in a blister or protective sleeve. Once you open it, you will find:
A brand cardboard with instructions (not always).
A protective plastic on top of the stamp with a preview of what the stamps will look like.
A protective plastic underneath.
The acrylic stamps in the middle of this sandwich.
To use the stamps, I always recommend removing the back protective plastic, as it’s easier to work with, stick, and unstick the stamps this way.
2 / The stamp base: methacrylate blocks.
As I mentioned at the beginning of the post, acrylic stamps do not have mounts, so we will need a base to adhere them to and stamp with.
You can't stamp without a base; they are flexible, and you can't use the stamp's protective plastic as it is malleable, and we need a flat, rigid surface to apply pressure so the stamp appears even everywhere.
Transparent acrylic blocks are used for stamping.
To choose the best base for your stamp, consider:
It should always be larger than the size of your stamp if it's a whole piece since you need space to place your fingers and grip it while stamping.
If you want to create compositions, it might be better to invest in a block with a grid, as it will be easier to align them.
3 / Mounting the acrylic stamp on the base
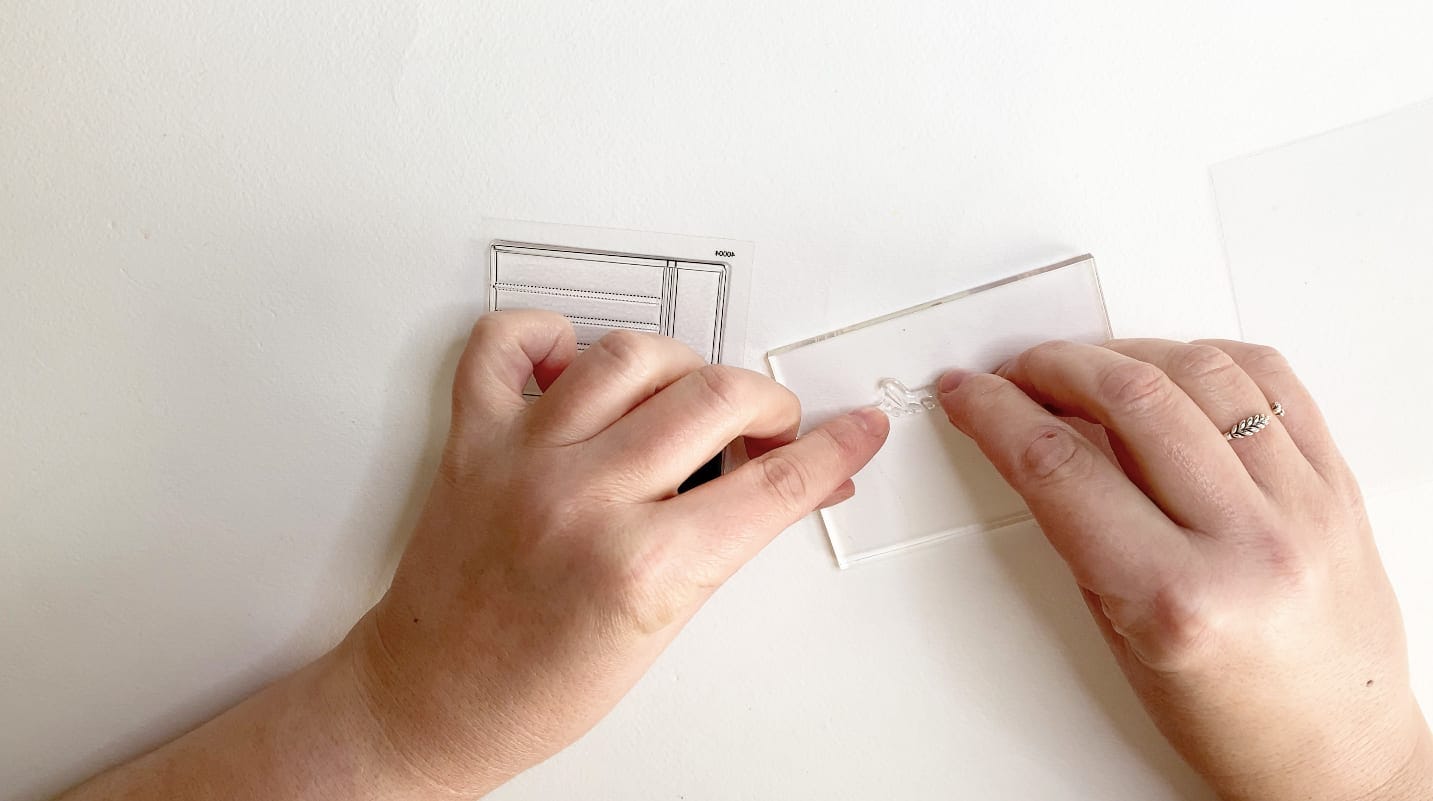
These stamps come with protective plastics on top and bottom to prevent damage. Remove the back plastic to make it easier to peel off and work with the stamps.
Carefully peel off the stamp you are going to use from the plastic.
Stick the stamp onto the acrylic block on the side that was previously attached to the plastic sheet.
How to stamp with an acrylic stamp
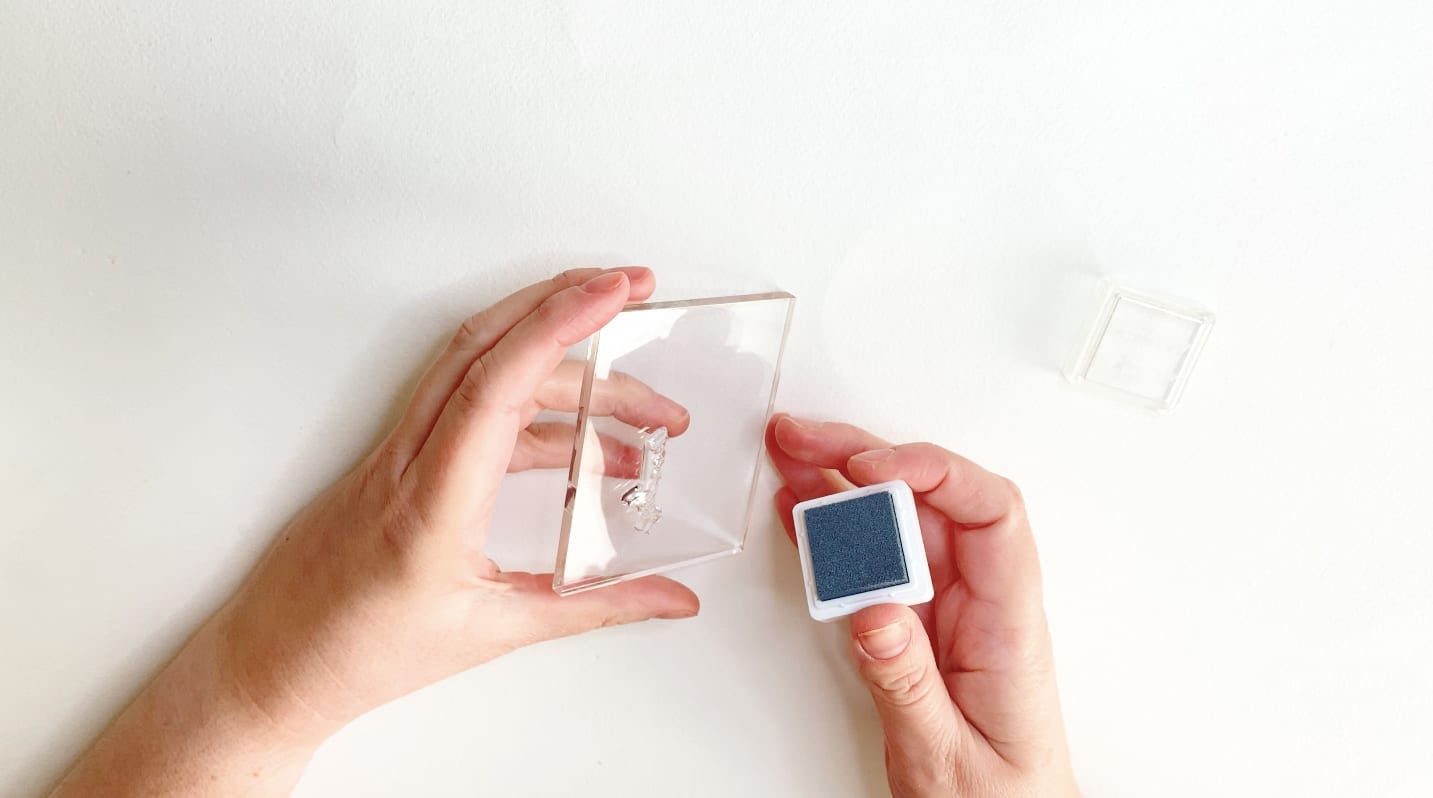
4 / How to ink an acrylic stamp
While you can use any type of ink—keeping in mind that it's suitable for the material you're stamping on—I recommend Versafine inks because they are perfect for bringing out all the details of your stamp.
Ink little by little by tapping gently with the ink pad to avoid excess ink that could end up smudging or blurring parts of the stamp.
Ensure the entire stamp is covered, as it is easier to leave some parts uninked when working with larger designs.
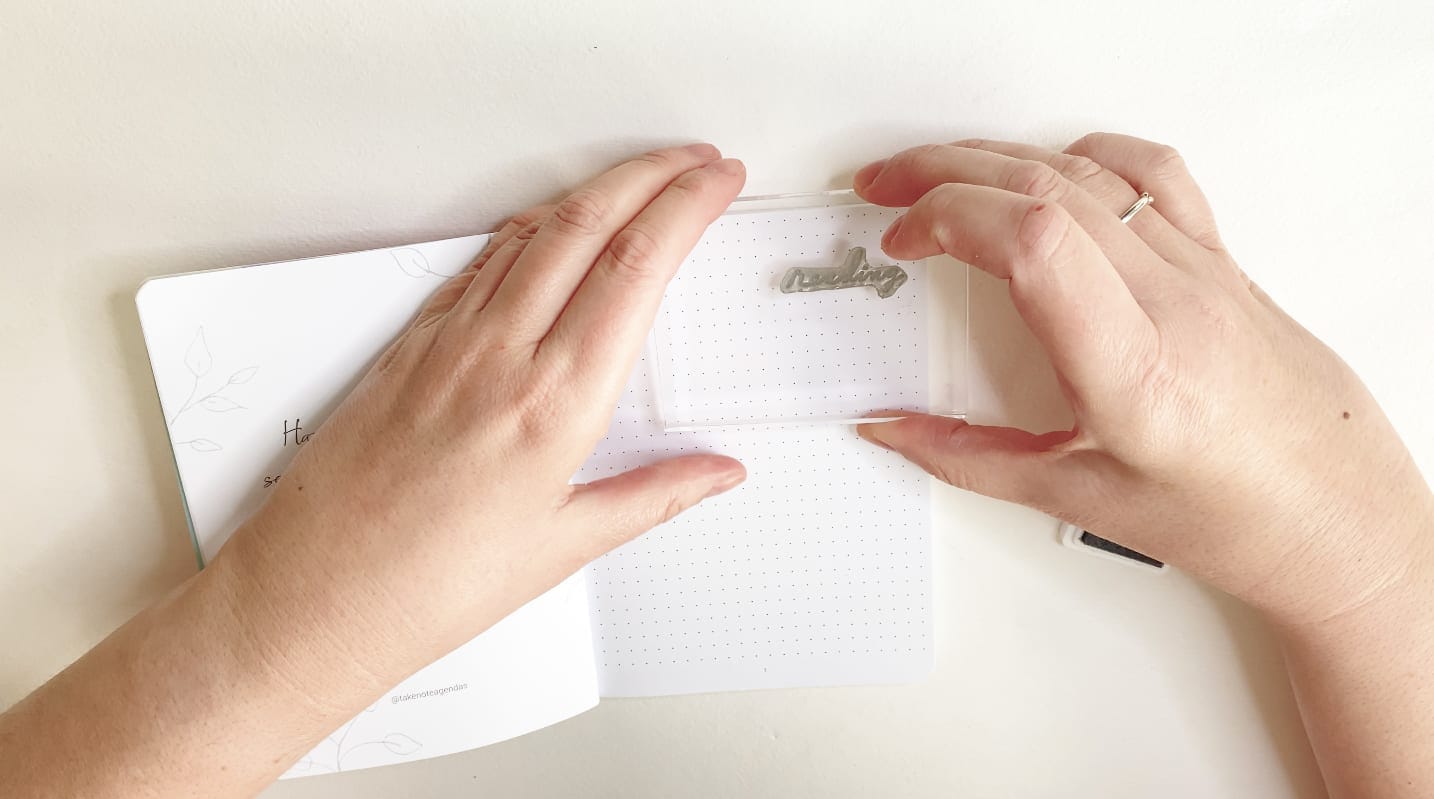
5 / How to stamp with an acrylic stamp
Hold the acrylic block with both hands in the position shown, and once you have placed the stamp where you want it, press down firmly to stamp it.
I usually apply some extra pressure with my fingers in certain areas if the design is large, being careful not to move the block.
Lift the block upwards with both hands, not dragging it to avoid ruining the stamped design.
Cleaning and storing acrylic stamps
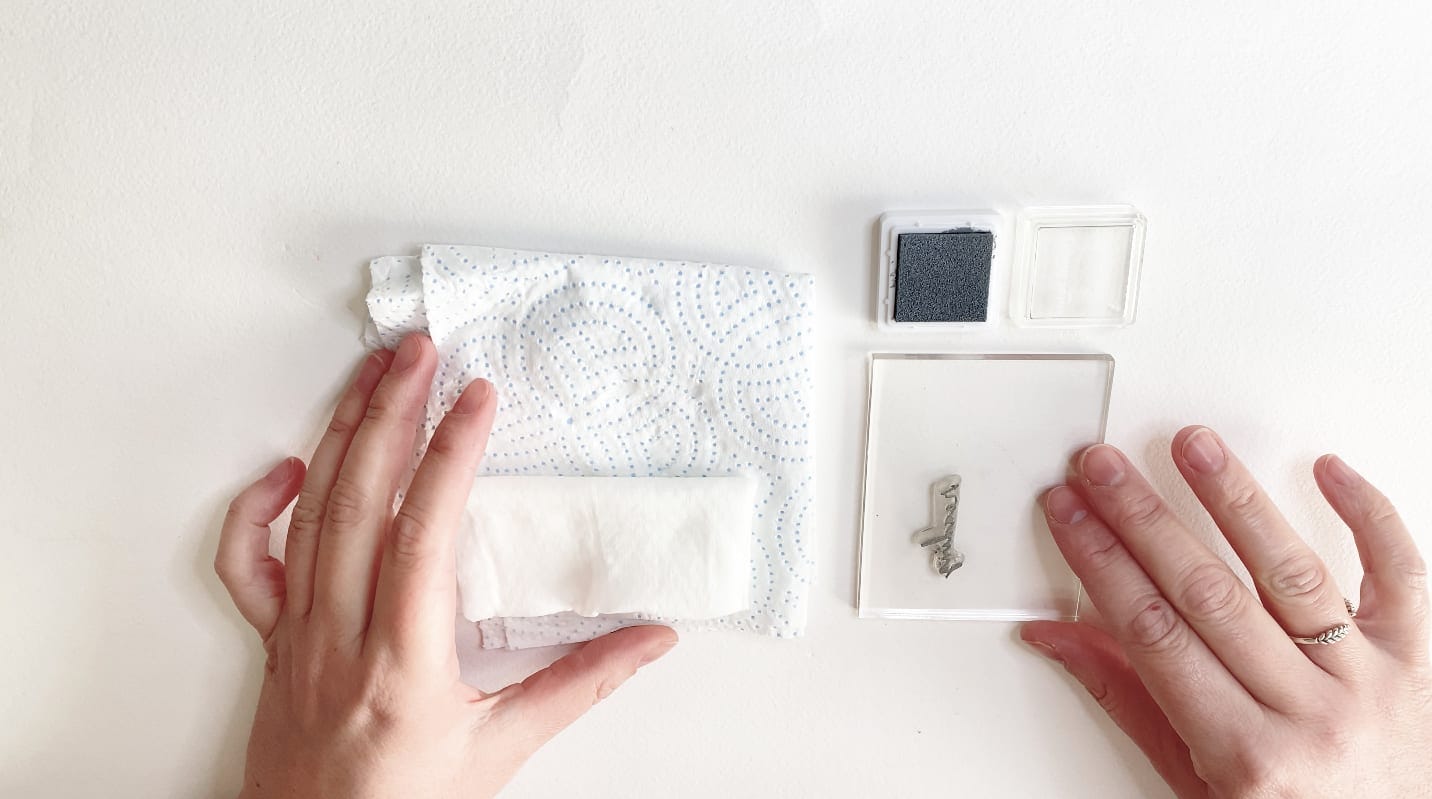
How to clean acrylic stamps?
To clean the stamp, use an alcohol-free wet wipe. Make several passes, especially if the stamp has many notches, to leave it completely clean.
Then, stamp several times on absorbent kitchen paper to help dry all the stamp details.
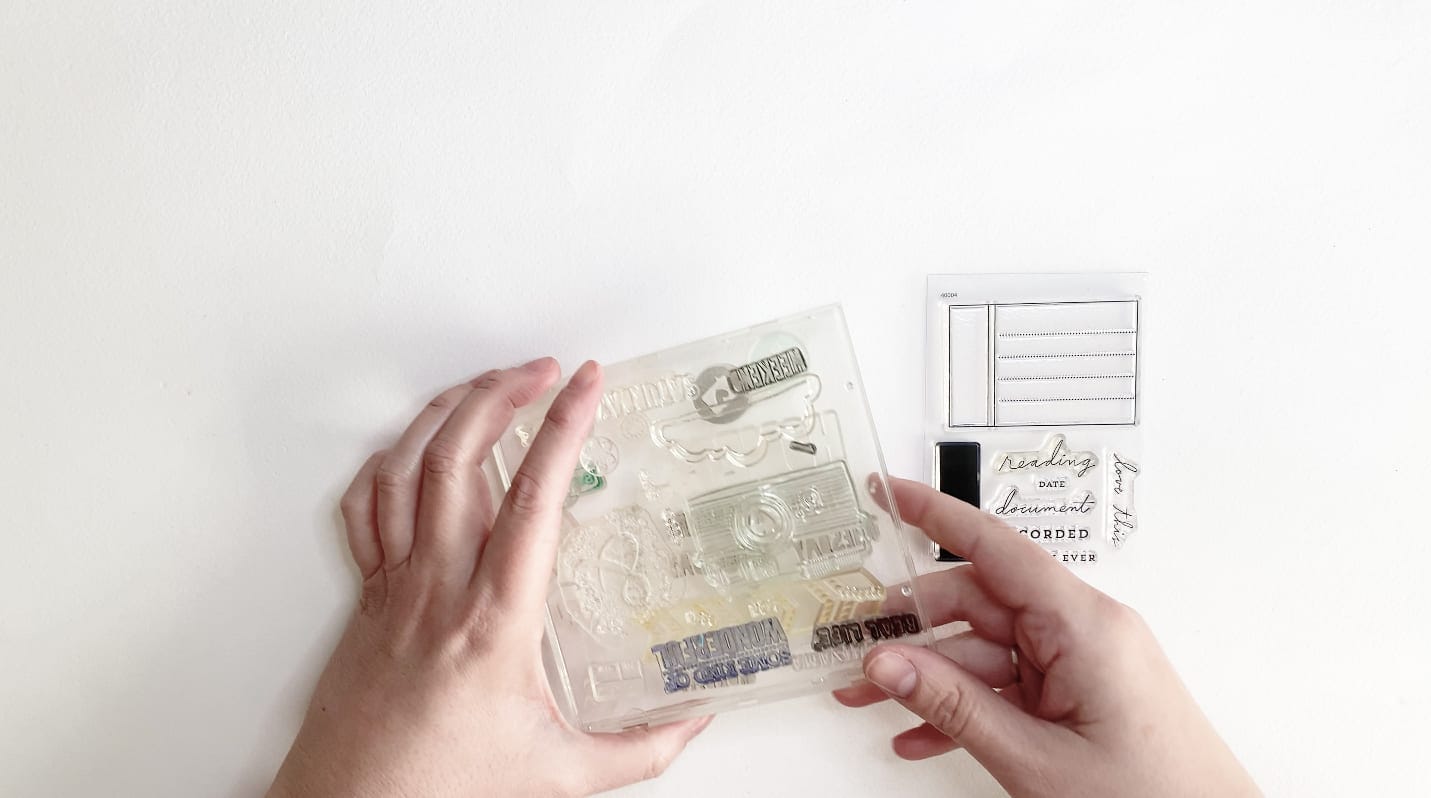
How to store the stamps.
When the stamp is completely dry, you can store it back in its blister pack by peeling the dry stamp off the methacrylate base and sticking it back onto the protective plastic.
There are albums designed for storing stamps, or you can use a small Project Life album with its sleeves.
Another more economical option is to store them in a CD case that you don't use.
Did you learn how to use acrylic stamps from this tutorial? If you have any questions, leave your comments.


